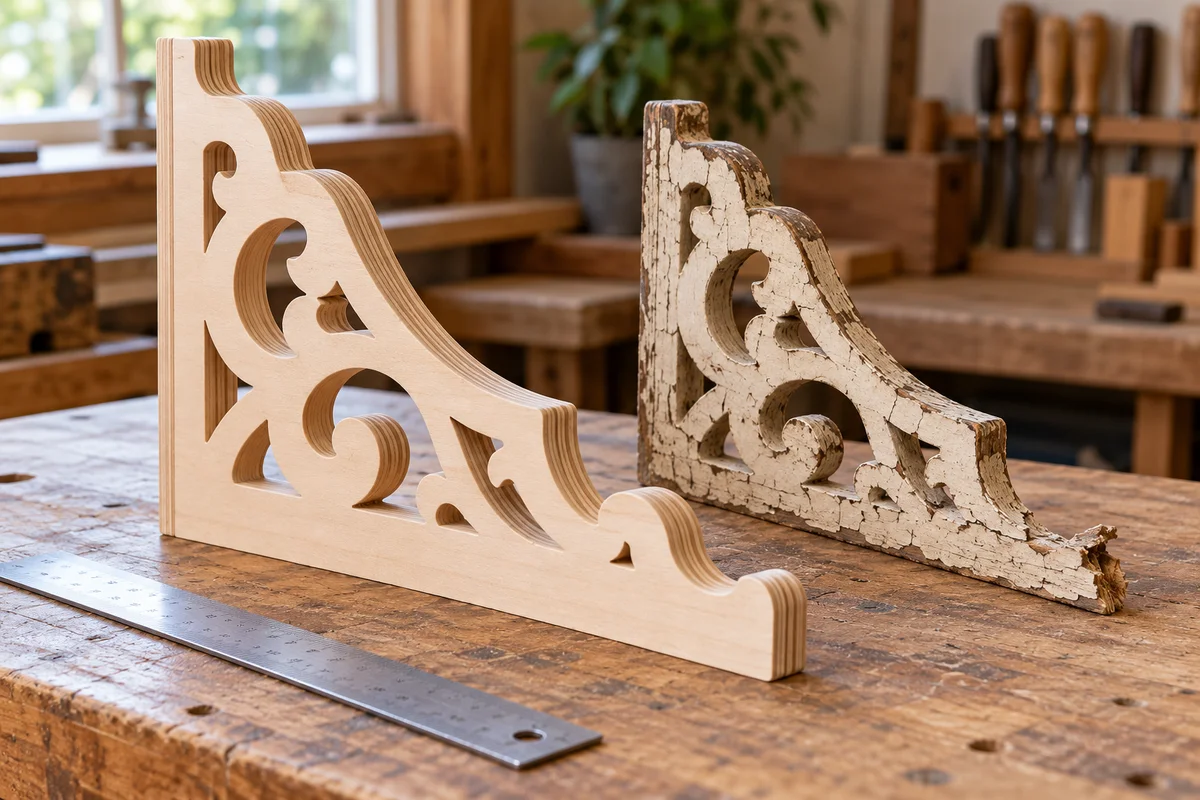
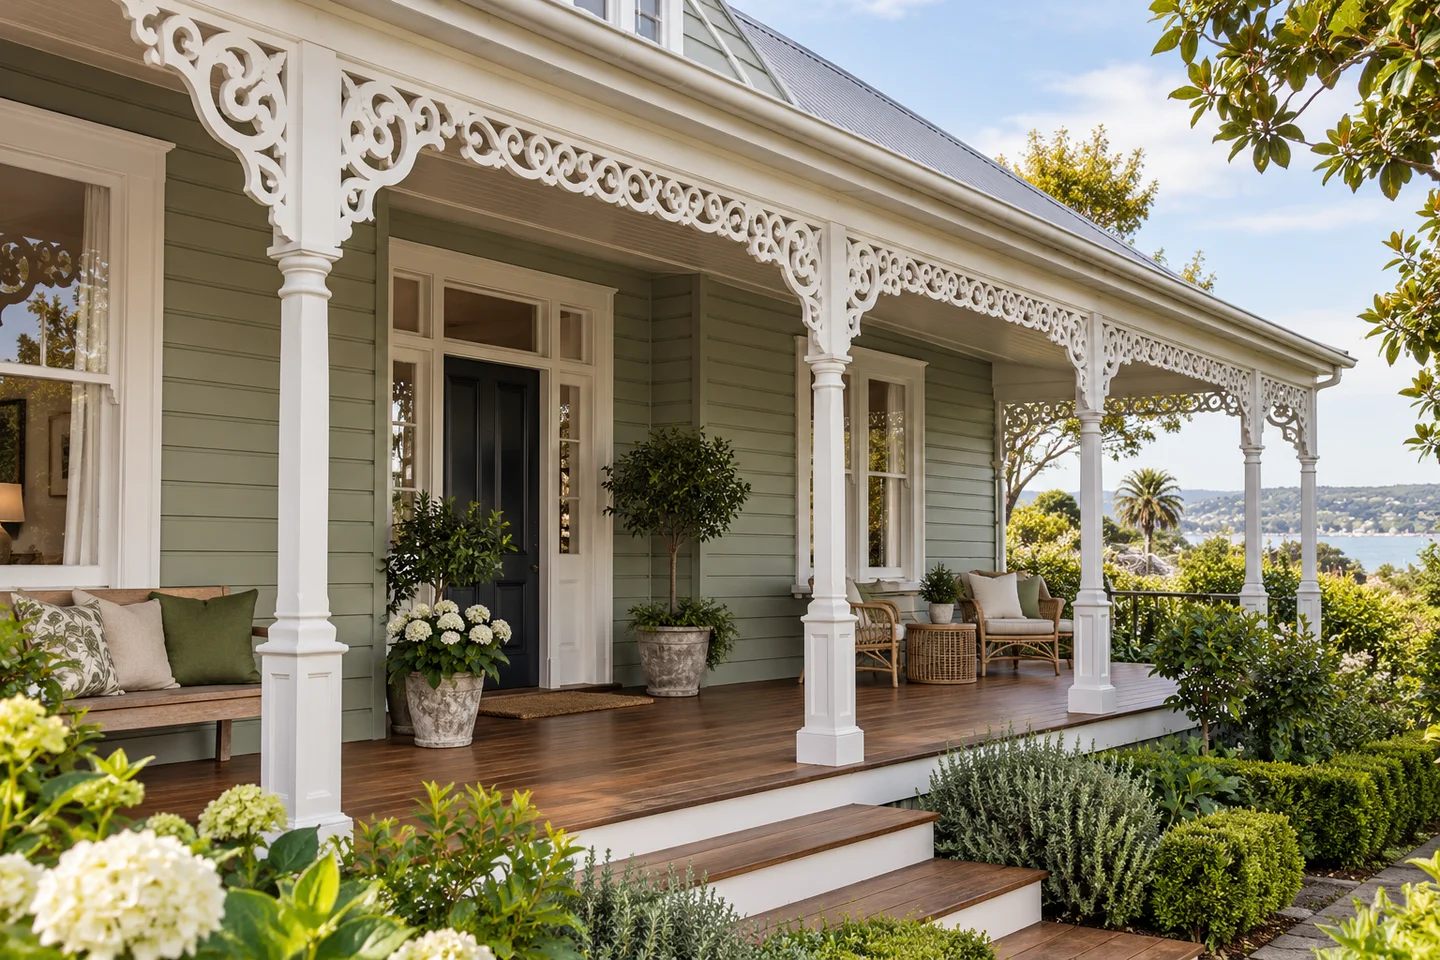
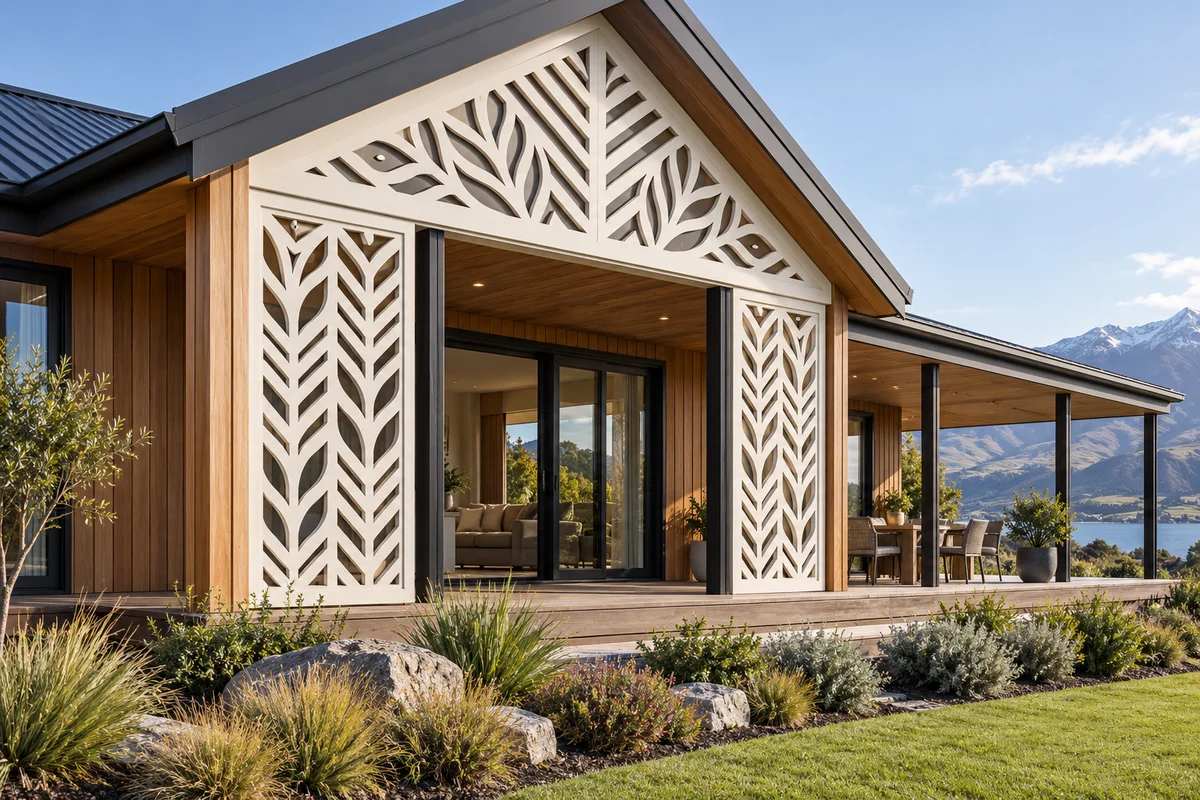
From a single replacement verandah bracket to repeating lacework for a new porch, CNCS creates decorative plywood fretwork from your measurements and approved design.
Illustrative render · replacement design inspirationChoose the right brief
Replacing an original or starting fresh?
Replacement & restoration
Photograph a surviving piece and the area where the replacement will fit. Undamaged matching pieces elsewhere on the building can help recover missing details. Include historical photographs or drawings if you have them.
We work towards an agreed pattern and dimensions. Matching the original silhouette is different from matching its original material: heritage-listed or protected work may need a designer or council to approve plywood as a replacement.
New builds & new designs
Start with the opening size, a sketch and the style you want. Verandah lace, corner brackets, decorative gable inserts and geometric details can be developed around the proportions of your building.
Include any architect or builder drawings and identify dimensions that cannot change. We review the openings, narrow details and construction before producing an approval drawing.
Get a useful reference
How to photograph & measure fretwork
A good photograph shows the pattern. Measurements establish the size. Supply both so we can trace the detail and check its proportions.
Take the photograph straight on
Use a clear, well-lit view of the complete piece. Keep the camera centred and square to the face, rather than looking up from below or across at an angle.
Step back enough to include every edge. Avoid a very wide-angle setting, digital zoom and panoramic photographs.
If a piece has already been safely removed, lay it flat on a plain background. Keep a ruler in the same plane as the fretwork, without covering the pattern.
Upload a full face view, a close-up of important details, a side view showing thickness and a wider view of the fitting position.
Do not climb or remove fixed work just for a photograph. Ask your builder to help with difficult-to-reach parts.
Mark clear point-to-point dimensions
Use millimetres throughout. Label the exact start and end of each measurement on the image or drawing.
Record the overall width, overall height and actual thickness separately. Distinguish the part size from the opening it must fit.
Add dimensions between recognisable corners, hole centres or other fixed points across the pattern. A second horizontal and vertical check helps reveal distortion.
For repeating lacework, measure one full repeat and the complete run. Mark posts, breaks, end details and the number of pieces needed.
Note fixing-hole centres, rebates, slots, handed or mirrored pieces and any required clearance. Mark damaged or uncertain dimensions as approximate.
Measurement checklist
Part
Measure & record
Corner bracket
Overall width and height, thickness, mounting-edge lengths, important cutout positions and left/right orientation.
Lacework or frieze
Total run, profile height, repeat width, post positions, end treatment, joins and quantity.
Gable or shaped insert
Opening width and height, angle or rise, diagonal check, mounting position and required edge clearance.
Replacement part
Existing finished thickness, overall dimensions, matching undamaged details, holes, slots and any missing sections.
One known dimension does not correct an angled or distorted photograph. If the reference cannot be scaled reliably, we may ask for another photograph, a measured sketch or a physical template before finalising the drawing.
Ideas for your project
Traditional detail. Fresh possibilities.
Illustrative renders showing possible styles, not photographs of completed CNCS installations. Each project is reviewed individually.
Verandah brackets & laceworkRepeating detail, coordinated brackets and made-to-measure lengths.Replacement fretworkRecreate a damaged or missing detail from a measured reference.New-build detailA new pattern designed around your opening and architectural style.
Material & preparation
18 mm treated plywood, reviewed for your design.
Our starting material is nominal 18 mm H3.2-treated plywood for above-ground decorative use. Bonded layers can provide a thicker profile where suitable. We confirm the finished thickness and construction rather than assuming every original timber detail can be reproduced the same way.
Supplied unpainted and unfinished. Your decorator must complete all required preservative treatment of cut edges, sealing, priming and painting, including inside every opening, before installation. Treatment does not make plywood waterproof or remove the need for maintenance. Agree the preparation, coating and fixing details with your installer before fitting.
This service covers decorative parts, not structural supports, safety barriers or engineered components. Check heritage or consent requirements for your property with your designer or council.
Before you order
Fretwork questions
Can you match damaged or missing fretwork?
We can work from a surviving piece, a clear photograph or a drawing. Include the overall dimensions and measurements between identifiable points. We review what can be reproduced and send a drawing for approval before cutting. A photograph alone cannot guarantee an exact match.
What is the fretwork made from?
Our starting material is nominal 18 mm H3.2-treated plywood for above-ground use. Thicker fretwork can be built up from bonded layers, subject to review of the design and intended position. This is decorative, non-structural fretwork.
Is the deposit the full price?
No. It is a deposit including GST, credited towards the agreed order total. We confirm the final price with you before manufacture. The remaining balance is payable before dispatch.
Can I order a different thickness or a mirrored pair?
Yes. Add the required finished thickness, quantity and whether the pieces should be identical or mirrored. We confirm the construction, achievable dimensions and price in the quote.
Does treated plywood need painting?
Yes. Treatment does not replace a suitable exterior coating system. Supply is unpainted and unfinished. Your decorator completes all required cut-edge preservative treatment, sealing, priming and painting before installation, including inside every opening.
What if my home is listed or protected?
Check the proposed pattern and plywood material with your designer or council before ordering. Matching an outline does not automatically make a plywood replacement a like-for-like heritage repair.
Can I use it as a structural bracket or a balustrade?
This service covers decorative fretwork. It does not include structural supports, safety barriers or engineered components. Tell us how the part will be used so we can assess the request.
Ready to send your references?
The guided order starts with a $150 deposit including GST, credited towards your agreed order total.