
Back to Family Height ChartsCNCS buying guide · New Zealand
Installing your family height chart
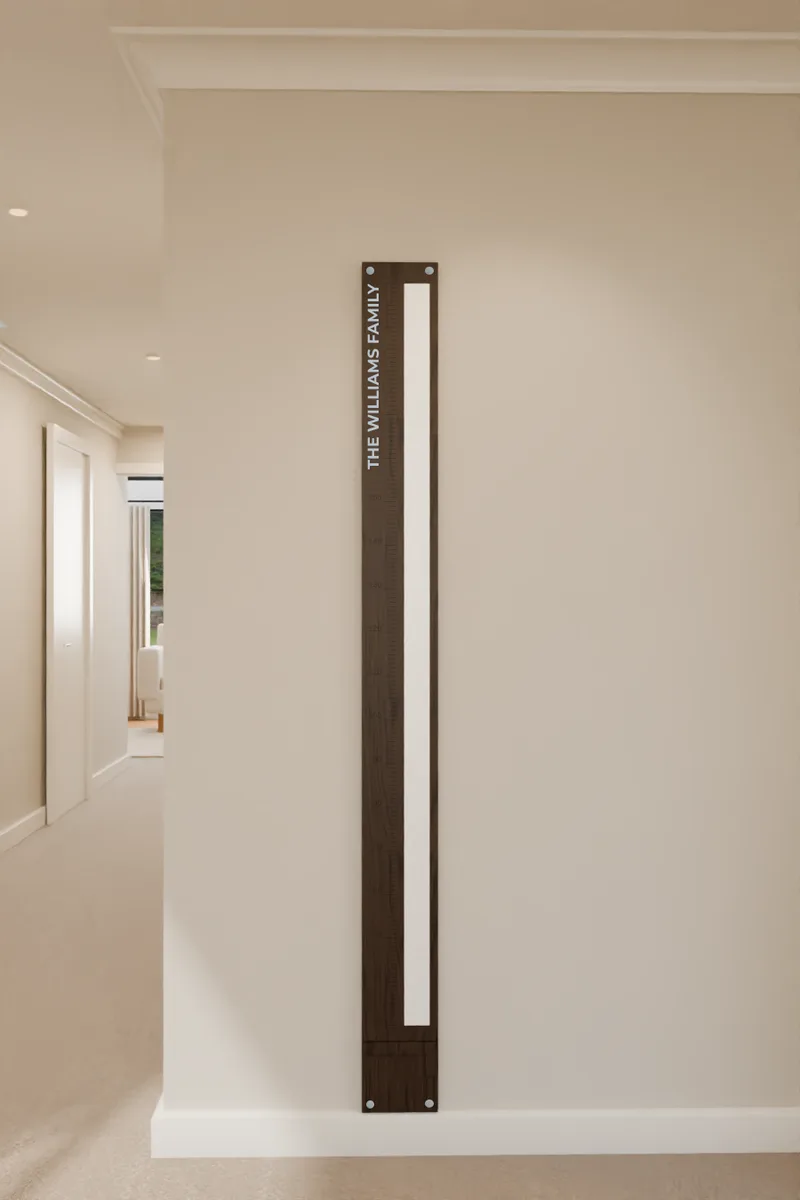
Your chart is pre-drilled and supplied with a spacing block and four fixing sets: Gib fixings, screws, cap washers and coloured caps.
- Check the approved mounting proof. Use the supplied spacing block on the finished floor. Custom skirting adjustments must follow your approved proof so the ruler reads correctly.
- Choose the position. If possible, position one vertical pair of fixing holes over a timber stud. Check for concealed pipes and wiring before drilling.
- Mark the holes. Rest the board on the spacing block, hold it plumb and mark through the four pre-drilled holes with a long pencil. Keep the board supported while working.
- Fit the wall fixings. Move the chart aside. Use the supplied Gib fixings where fixing into plasterboard; fix directly into suitable timber where a stud is available. Follow the fixing manufacturer's instructions.
- Secure the chart. Return it to the block, fit the screws and cap washers, and tighten evenly without overtightening. Fit the coloured caps and remove the spacing block.
- Check the scale. Confirm the ruler height against a tape measure from the finished floor before recording measurements.
The measuring square contains magnets and is not a toy. Adults should supervise its use and keep the square, any loose magnets and small fixings away from young children. Check the square and chart regularly; if a magnet is loose or exposed, stop using the affected part, keep it away from children and contact us. Do not let children put the square or magnets in their mouth or try to remove magnets. If a magnet may have been swallowed, seek urgent medical attention immediately. If the wall or mounting position is unsuitable, contact us before fitting.